The Android app market is growing like wildfire let loose in the jungles of Australia.
Today, we have over a million worthwhile apps on Android’s ever growing database. And with the surge in their usage, there are countless fans around the world who want to play multiplayer games, or work in coherence through Android apps. However, there lies a huge concern for those who wish to become a part of this growing community through laptops. While Surface Pro X and other Android supporting tabloids are a great way to interact, what about the ones who are operating the Windows on laptops and desktops? To help resolve your problem, here’s a comprehensive guide which will explain how one can add Android apps on almost any Windows supported machine.
With this method, you can enjoy almost any android game you want on the big screen.
Using the Bluestack Emulator
One of the most popular methods for running an Android app on your Windows supported device is by installing the Bluestack Emulator on your Windows supported device.
It allows you to easily run all 32-bit and 64-bit games and apps which are supporting Android Nougat.
The Bluestack emulator is free-to-use, and you can easily toggle emulation settings & launch apps through the custom-designer interface called the “Layercake” technology. The technology enables the emulator to use different hardware accelerators to improve the Android app performance on Windows10 supported devices. If you’ve a computer device with at least a minimum RAM of 8 GB, you can run Android apps on Twitch and stream the experience for your fans and audiences. Bluestack allows you to do that from its dashboard. For optimal performance delivery, we advise that you turn on the AMD-V and Intel VT-x within the BIOS to deliver a lag-free performance.
Bluestack also comes with a subscription plan which costs around $4 per month or $40 per year. When you purchase the Bluestack premium version, you get complete compatibility for premium support, wallpapers, disable advertisements, and a whole lot more. The emulator is now compatible with the Samsung’s app store allowing users to directly download games.
How to Install the BlueStack Emulator on Windows 10?
For installing apps through BlueStack, here’s something which you can do to install it on your computer.
Step # 1: Start with downloading the Bluestack emulator on your device from the official website.
Step # 2: Launch the pp and install the Bluestack emulator in your desired storage location. Once installed in a certain drive location, you can’t change the Bluestacks directory.
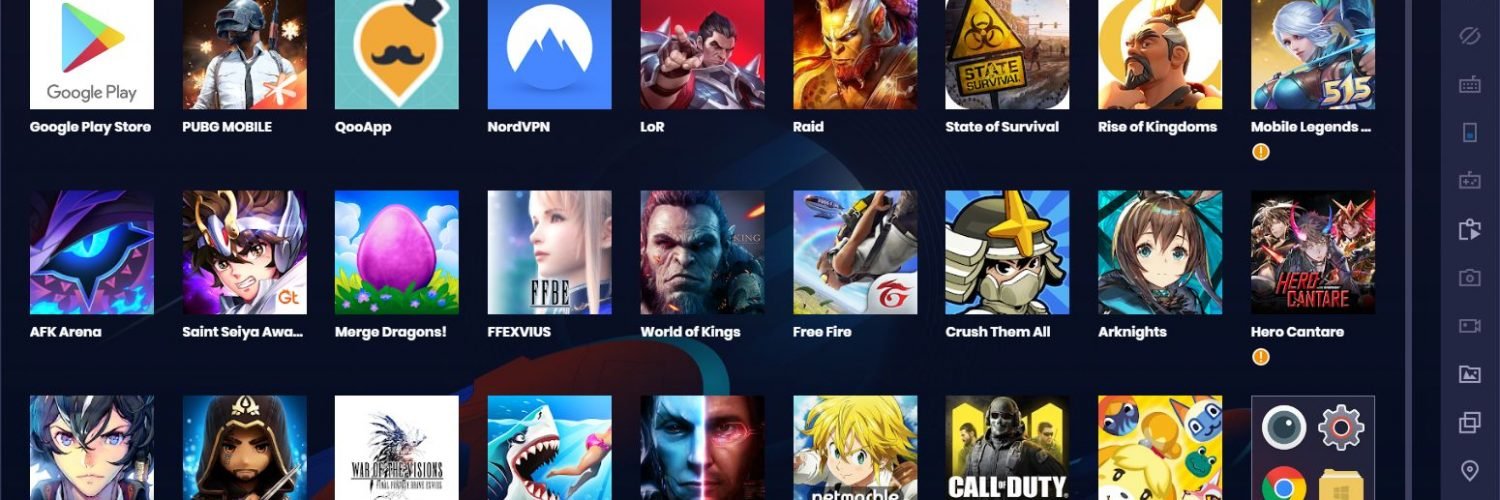
Step # 3: Once, you have installed the Bluestack on your Windows system, you can now launch it. Just enter your Google or Samsung account credentials. With the following info, you can log into the Google Play Store & Galaxy Store. Access your entire Android app library from one place.
BlueStack is definitely one of the most interactive ways allowing gamers to interlink their phones with their Windows 10. With the surge in online multiplayer games and the rising trends of PUBG gaming and LORDS mobile, there are so many other titles which fans simply crave to play on the bigger screen. Thanks to the BlueStack Emulator, you now have plenty of gaming options giving you the absolute liberty to play your favourite Android game titles online.
Do you always want to play your favourite Android gaming titles on Windows supported machines? Here’s Bluestack app for you. Download it today and enjoy unlimited Android gaming.


Recent Comments